Build a Tiny Forest on Your Kitchen Table (And Get Your Saturday Afternoon Back)
It's 2 PM on a Saturday. The rain has been going since breakfast, the playground is a mud memory, and your five-year-old has already asked for the tablet four times. You've said no four times. Everyone's fraying.
Here's what saved us last winter: a rolls-of-kraft-paper forest that took over the kitchen table and stayed there for three weeks.
This isn't a twenty-minute Pinterest craft that ends in glitter tears. It's a slow-build project, done in stages, that keeps small hands busy — and then keeps them busy again once the forest exists, because a tabletop forest is not decoration. It's a world. And worlds get played in.
Why Slow Crafts Actually Work
There's a reason kids come out of a long afternoon of cutting and gluing calmer than they went in. Repetitive handwork — snipping paper trunks, crinkling tissue leaves, pressing down glue — is basically mindfulness for people who can't sit still. The rhythm of it settles a wound-up nervous system the same way stirring pancake batter does.
The trick is not rushing it. Resist the urge to finish the forest for them. The point is the process, and the process should eat most of a rainy afternoon.
Stage One: The Groundwork (Ages 3+)
Start with the land. Tape together a few flattened cardboard boxes, or just lay down a big sheet of kraft paper across the table. Let the youngest crew members do the terrain: torn paper "grass," crumpled brown paper "rocks," a blue construction paper river.
What you need: kraft paper or flattened boxes, glue sticks, safety scissors, whatever's in the craft bin.
Three-year-olds can tear, crumple, and glue with the best of them. Their section will look chaotic. That's fine. Forests have undergrowth.
Stage Two: The Trees (Ages 5+)
Now the forest gets its architecture. Older kids can cut tree shapes from cardboard tubes and paper — toilet paper tubes make excellent trunks, and a green paper circle with a slit in it becomes an instant canopy.
Want to level up? Send everyone to the yard or the sidewalk for found leaves, twigs, and acorns. Real bark glued to a paper trunk is a small marvel when you're six. If it's genuinely pouring, the windowsill collection works too.
Set a gentle rule that helps: every tree gets planted where its builder says it goes. Ownership matters. Kids defend and return to worlds they designed.
Stage Three: The Inhabitants (All Ages)
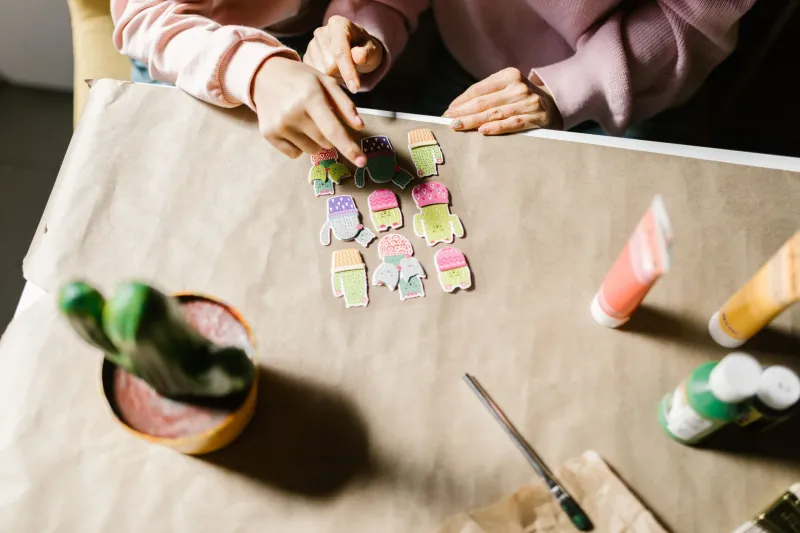
This is where the project stops being a craft and becomes a toy. Fold tiny paper animals — there are simple printable templates for foxes, owls, and deer that take two minutes to cut. Or draw characters on cardstock and give them paper stands.
Then step back. By dinnertime you'll overhear a storyline involving a lost hedgehog and a bridge made of popsicle sticks. That's your hour of peace, arriving fashionably late.
Make It Last Past Sunday
The magic move: don't clean it up. Designate one end of the table (or a bookshelf corner) as forest territory and let it live there.
Then let it grow. Add a paper campfire on Tuesday. A cardboard treehouse the following weekend. Seasonal updates — orange paper leaves in fall, cotton-ball snow in January — turn it into a ritual that rotates with the calendar. Our forest eventually got a post office. I don't ask questions anymore.
A Short Supply List
- Kraft paper or flattened shipping boxes
- Toilet paper and paper towel tubes
- Glue sticks and tape
- Green, brown, and whatever-color construction paper
- Found twigs, leaves, acorns
- Markers for details
That's it. No Cricut, no craft-store run, no laminated instructions.
The rain will eventually stop. The forest, if you let it, won't — at least not for a while. And somewhere in all that slow snipping and gluing, your Saturday gets quiet. Not the enforced kind of quiet. The good kind, the kind with a hedgehog storyline running underneath it.